


Outdoor ColorShot DIY Pillows
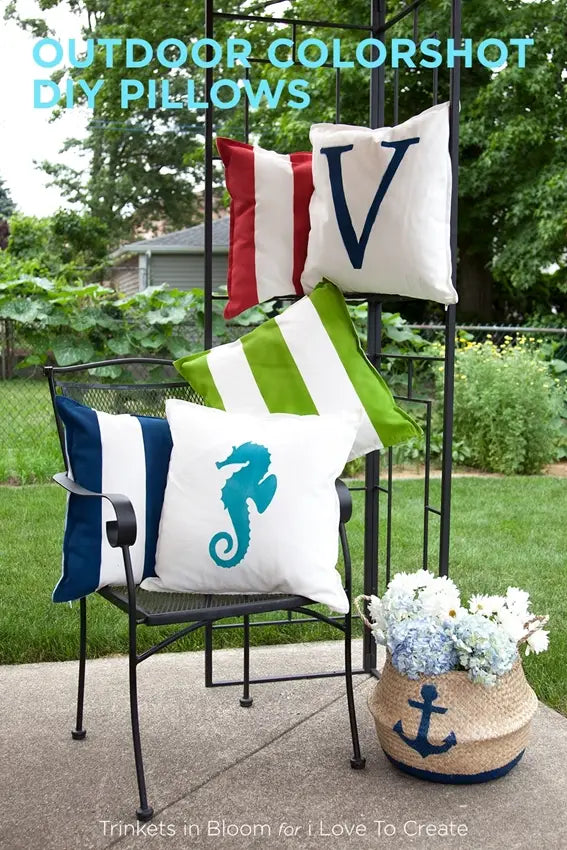
I’ve been wanting to give my deck a fun update for summer, and these pillows are just perfect for a quick and colorful summer update. I love how vibrant the colors are with the Outdoor ColorShot, and how easy it is to get smooth coverage.

What you need:
Pillow Covers
Pillow Forms
Freezer paper
Iron
Drop cloth

Create your design and transfer it to the freezer paper.
Make sure that when you iron it to your pillow cover you will have the wax side down on the pillow.

Make sure you follow the instructions on the package carefully.
Test out your ColorShot on a paper or something so that you can see how it sprays. I found that it sprays out in a short horizontal line.
Also paint in light thin layers. If you get too heavy handed with the paint your freezer paper will get too wet and it will lift from your pillow cover and you’ll have some bleeding outside of your design.


The paint will dry quickly especially with thinner layers.
Once you have the color you want and it’s dry to the touch you can peel off your freezer paper and see your design.
The instructions recommend that you let it dry for a full 72 hours before washing.
